There are some cool moments in this third area.

The third region is the Lanayru Desert. It’s a barren area that looks completely deserted except for the monsters that have taken it over. However, as you progress through the early parts of the area, there is a stunning revelation: this area used to be a thriving technologically advanced society populated by little mining robot dudes. For some reason, they’re all decrepit and dead.
Early on in the brown and dusty area, you find a crystal that, once struck, turns back time in a radius around the crystal, spewing out beautiful, vibrant colors and reviving the little robots and their mining operation. It’s a less emotionally resonant version of the Hyrule reawakening in Wind Waker.
After traversing through caves, you make it out into a large desert. Early on, you find another crystal, which aids in reviving another robot. Glancing at your beetle, he makes some crack at how inferior it is and upgrades it for you. The beetle, which was already one of my favorite new weapons, just got cooler. It can now pick up items, such as bombs, and then drop them to solve puzzles or destroy enemies. When you get the drop on an unsuspecting enemy, it is very rewarding.
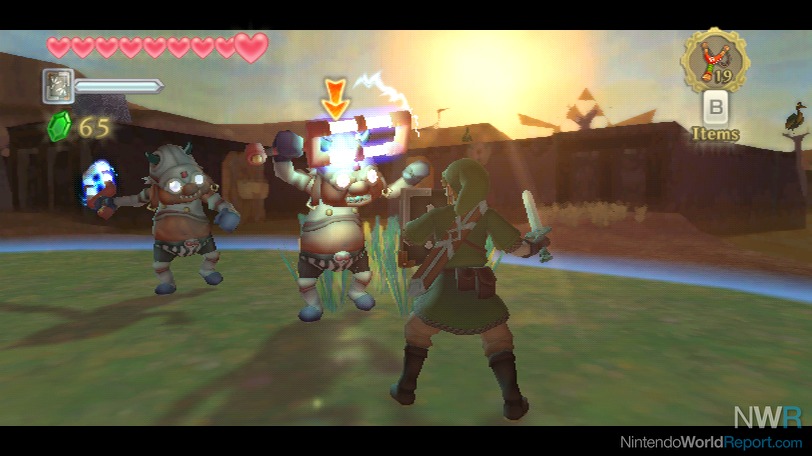
The Bokoblins in this area wield electricity, which highlights the strength/weakness dichotomy of the wooden and metal shields. Historically, you just discard the wooden shield in Zelda games after you get the bigger, badder metal one. In this game, you have to go back to the wooden one, as electricity destroys the metal one.
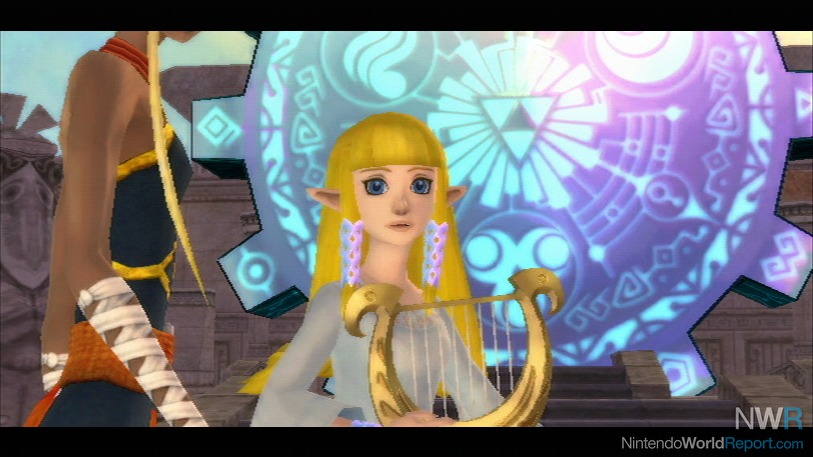
After getting through the large desert, you get closer to the next dungeon: The Temple of Time. However, it’s a fake out. You see, when Zelda and her newfound helper, who first appeared at the end of the second dungeon, arrived, they blocked the entrance. The little robot dudes have a secret entrance, though, and after completing the customary fetch quest - this time involving activating three switches - you enter the Lanayru Mining Facility, which is the real third dungeon.
The dungeon uses the same time switch mechanic, and even has you trailing a mine cart containing an activated crystal to get across large gaps. The enemies are bright and colorful versions of old standbys such as Beamos and Armos. Beamos can be defeated by slicing their towers down with the sword and then stabbing them in the eye. Armos highlight the combat prowess of the dungeon’s item the Gust Jar. The Gust Jar shoots out air, which spins pinwheels and moves sand. You have spin the top of the Armos’ head to stun it, and then attack it with your sword to defeat it.
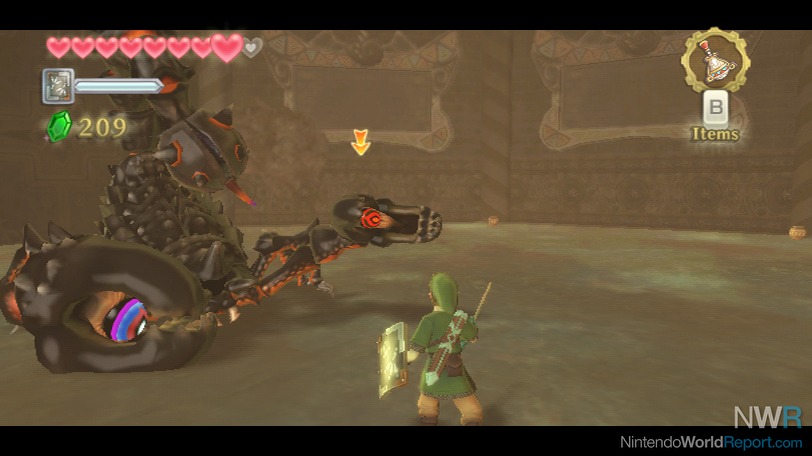
The boss of the area, the giant scorpion Moldera, is primarily a sword-focused boss. A version of the creature appeared in the E3 2010 demo of the game, as you have to swing your sword at the correct angle to chop off his pincers. The second phase of the battle makes use of the Gust Jar, as you have use it to blow the sand around to uncover the scorpion. It’s a nice way to use a weird item in a boss fight.
Following the boss fight, some serious story stuff goes down, and the game effectively moves into its next act.